
Do you want to capture an image from the camera and set it into imageview or upload it to the server? then, this is the right post to learn.
The camera is a very common feature that lots of apps provide. Most of the required image capture features are in their own application. eg. profile image, creating a post with an image, every food or social media app required a camera feature in its own application.
Basically, Image capturing is a very simple task, even if you are using custom. In this article, we are going to see how to capture images from the camera using FileProvider in your Android app.
Google introduces FileProvider in version 22.1.0. FileProvider class is a derived class from ContentProvider. In other words, you can say, FileProvider provide facilitates secure file sharing in android via content://Uri instead of a file:///Uri.
checkout my other useful post:
How To Get Current Latitude And Longitude In Android
Google Places Autocomplete Android Example
Single Sign-on with AppAuth Android [Step by Step]
So, Let’s start with how can we achieve capturing an image from the camera and get the file path, and load an image in an ImageView.
Step to capture image from camera programmatically
- Defining a FileProvider
- Granting Permissions to a URI, Storage & Camera
- Image Capture using Camera
- Manage Result and show image over the ImageView
1. Defining A FileProvider
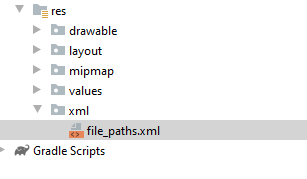
Define a list of file paths for FileProvider in an XML file and save it in res/xml. Since we want to save it only in the public picture directory, we’ll just add its path of it to XML.
<?xml version="1.0" encoding="utf-8"?>
        <paths xmlns:android="http://schemas.android.com/apk/res/android">
            <external-path name="my_images" path="Android/data/com.example.captureimage/files/Pictures" />
        </paths>
In AndroidMenifest.xml you have to specify the FileProvider component by adding an element <provider> like below,
<provider
            android:name="androidx.core.content.FileProvider"
            android:authorities="com.example.captureimage.fileprovider"
            android:exported="false"
            android:grantUriPermissions="true">
            <meta-data
                android:name="android.support.FILE_PROVIDER_PATHS"
                android:resource="@xml/file_paths"></meta-data>
        </provider>
Note — Replace com.example.captureimage with your package name
2. Granting Permissions To A URI, Storage & Camera
you need to add the permission in the manifest file as,
<uses-feature android:name="android.hardware.camera"
            android:required="true" />
In the permission, the android:required="true" is to tell Google’s play to filter all the Android devices which have a camera function.
If we use android:required="false", we need to check for the camera via programmatically.
<uses-permission android:name="android.permission.WRITE_EXTERNAL_STORAGE" />
    <uses-permission android:name="android.permission.CAMERA" />
    <uses-feature android:name="android.hardware.camera.autofocus" />
Android 6, contains a permission system for certain tasks. Each application can request the required permission on runtime. So let’s open the Activity class and add the below code for requesting runtime permission,
if (ContextCompat.checkSelfPermission(
                    this,
                    Manifest.permission.CAMERA
                ) != PackageManager.PERMISSION_GRANTED
            ) {
                ActivityCompat.requestPermissions(
                    this,
                    arrayOf(Manifest.permission.CAMERA, Manifest.permission.WRITE_EXTERNAL_STORAGE),
                    0
                )
            } else {
                // Your code
                        }
                    } catch (ex: Exception) {
                        // Error occurred while creating the File
                        displayMessage(baseContext, ex.message.toString())
                    }

                } else {
                    displayMessage(baseContext, "Null")
                }
            }
3. Image Capture Using Camera
Now let’s create a function to generate a random file name with .jpg extension in the external files directory.
We need to create an Image file
@Throws(IOException::class)
        private fun createImageFile(): File {
            // Create an image file name
            val timeStamp = SimpleDateFormat("yyyyMMdd_HHmmss").format(Date())
            val imageFileName = "JPEG_" + timeStamp + "_"
            val storageDir = getExternalFilesDir(Environment.DIRECTORY_PICTURES)
            val image = File.createTempFile(
                imageFileName, /* prefix */
                ".jpg", /* suffix */
                storageDir      /* directory */
            )

            // Save a file: path for use with ACTION_VIEW intents
            mCurrentPhotoPath = image.absolutePath
            return image
        }
Create a new Intent with FileProvider URI
try {
                        photoFile = createImageFile()
                        // Continue only if the File was successfully created
                        if (photoFile != null) {
                            val photoURI = FileProvider.getUriForFile(
                                this,
                                "com.example.captureimage.fileprovider",
                                photoFile!!
                            )
                            takePictureIntent.putExtra(MediaStore.EXTRA_OUTPUT, photoURI)
                            startActivityForResult(takePictureIntent, CAPTURE_IMAGE_REQUEST)
                        }
                    } catch (ex: Exception) {
                        // Error occurred while creating the File
                        displayMessage(baseContext, ex.message.toString())
                    }
4. Manage Result And Show Image Over The ImageView
After the action performing, we will manage the result on onActivityResult by using ResultCode and RequestCode. In onActivityResult, we have to manage three things.
- Get the actual file path or file from the result intent
- Compress a file using the FileCompressor utility
- Finally set the final output over the ImageView in Android
override fun onActivityResult(requestCode: Int, resultCode: Int, data: Intent?) {
    super.onActivityResult(requestCode, resultCode, data)

            if (requestCode == CAPTURE_IMAGE_REQUEST && resultCode == Activity.RESULT_OK) {
                val myBitmap = BitmapFactory.decodeFile(photoFile!!.absolutePath)
                imageView.setImageBitmap(myBitmap)
            } else {
                displayMessage(baseContext, "Request cancelled or something went wrong.")
            }
        }
Final** MainActivity.kt**
class MainActivity : AppCompatActivity() {
        var photoFile: File? = null
        val CAPTURE_IMAGE_REQUEST = 1
        var mCurrentPhotoPath: String? = null

        override fun onCreate(savedInstanceState: Bundle?) {
            super.onCreate(savedInstanceState)
            setContentView(R.layout.activity_main)

            button_capture.setOnClickListener {
                captureImage()
            }

        }

        private fun captureImage() {

            if (ContextCompat.checkSelfPermission(
                    this,
                    Manifest.permission.CAMERA
                ) != PackageManager.PERMISSION_GRANTED
            ) {
                ActivityCompat.requestPermissions(
                    this,
                    arrayOf(Manifest.permission.CAMERA, Manifest.permission.WRITE_EXTERNAL_STORAGE),
                    0
                )
            } else {
                val takePictureIntent = Intent(MediaStore.ACTION_IMAGE_CAPTURE)
                if (takePictureIntent.resolveActivity(packageManager) != null) {
                    // Create the File where the photo should go
                    try {
                        photoFile = createImageFile()
                        // Continue only if the File was successfully created
                        if (photoFile != null) {
                            val photoURI = FileProvider.getUriForFile(
                                this,
                                "com.example.captureimage.fileprovider",
                                photoFile!!
                            )
                            takePictureIntent.putExtra(MediaStore.EXTRA_OUTPUT, photoURI)
                            startActivityForResult(takePictureIntent, CAPTURE_IMAGE_REQUEST)
                        }
                    } catch (ex: Exception) {
                        // Error occurred while creating the File
                        displayMessage(baseContext, ex.message.toString())
                    }

                } else {
                    displayMessage(baseContext, "Null")
                }
            }

        }

        @Throws(IOException::class)
        private fun createImageFile(): File {
            // Create an image file name
            val timeStamp = SimpleDateFormat("yyyyMMdd_HHmmss").format(Date())
            val imageFileName = "JPEG_" + timeStamp + "_"
            val storageDir = getExternalFilesDir(Environment.DIRECTORY_PICTURES)
            val image = File.createTempFile(
                imageFileName, /* prefix */
                ".jpg", /* suffix */
                storageDir      /* directory */
            )

            // Save a file: path for use with ACTION_VIEW intents
            mCurrentPhotoPath = image.absolutePath
            return image
        }

        private fun displayMessage(context: Context, message: String) {
            Toast.makeText(context, message, Toast.LENGTH_LONG).show()
        }

        override fun onActivityResult(requestCode: Int, resultCode: Int, data: Intent?) {
            super.onActivityResult(requestCode, resultCode, data)

            if (requestCode == CAPTURE_IMAGE_REQUEST && resultCode == Activity.RESULT_OK) {
                val myBitmap = BitmapFactory.decodeFile(photoFile!!.absolutePath)
                imageView.setImageBitmap(myBitmap)
            } else {
                displayMessage(baseContext, "Request cancelled or something went wrong.")
            }
        }

    }
Download the example on Github
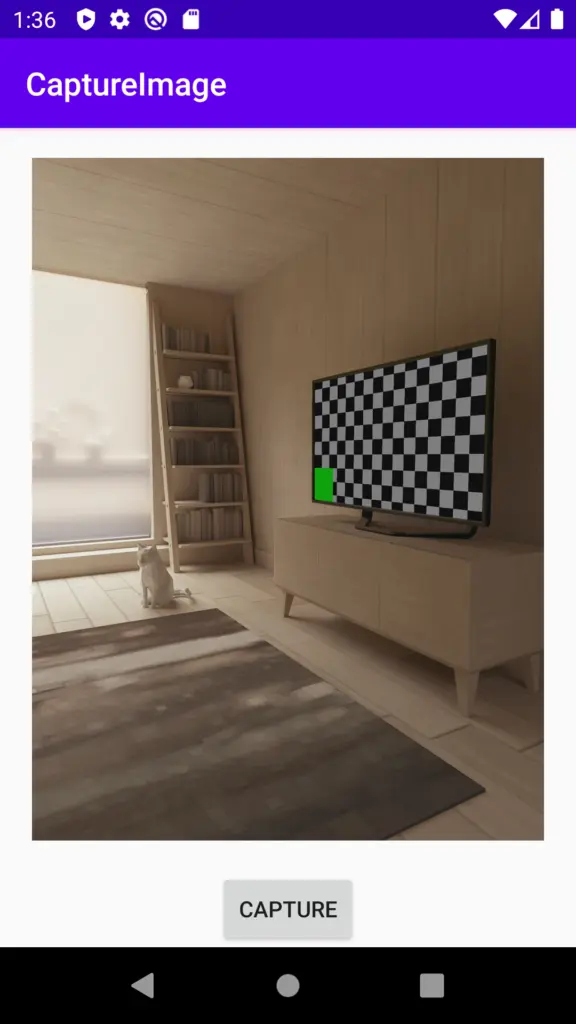
Screenshot
Also, check out my other post on kotlin,
Leave a Reply